-
Hole 1 | Par 5
A well struck drive down the middle of the fairway gives you a choice of laying up to a creek that is 100 yards from the green, or for long hitters, a long second shot that must carry all the way to the green. A putt from below the hole is desired as this green slopes from back to front.
536 529 476 416 
-
Hole 2 | Par 4/5
The #1 handicap hole. A drive must favor the left side of the fairway. Reaching the top of the hill gives you a 150 yard look at the sloping green. Getting the ball on the correct side of the hole is critical. Once on the green you will understand why this is the #1 handicap hole.
398 384 374 295 
-
Hole 3 | Par 3
A slightly uphill shot to a sloping back-to-front green. Use an extra club to favor the back half of the green. A shot to the front of the green will roll off the front edge. Do not be fooled by the distance on this hole! You must leave yourself an uphill putt.
143 129 112 112 
-
Hole 4 | Par 4
A smart shot is to position a tee shot 125 yards from the green on the left center of the fairway. A second shot to the middle of the green will give you a great look at birdie.
316 301 286 286 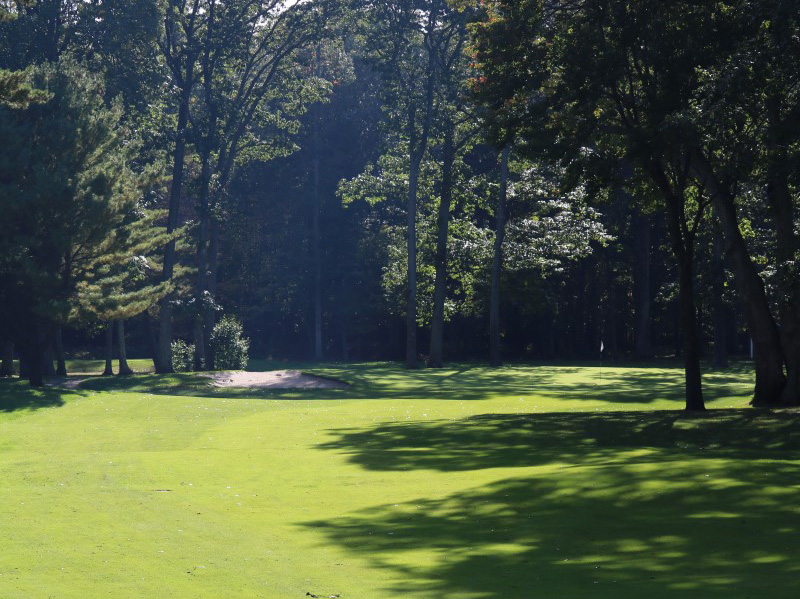
-
Hole 5 | Par 4/5
A sharp dogleg to the right and playing slightly uphill will make this hole seem longer than it is. A tee shot aimed at the Maple straight away, and a slight fade, will give you a straight in look for your second shot.
403 390 378 318 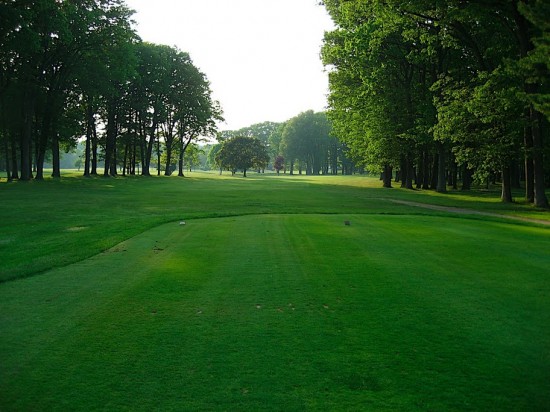
-
Hole 6 | Par 4
A slight dogleg to the left. A 3 wood is the preferred club of choice with a slight draw. This will put the ball in prime position for a birdie. Stay short of the pin for an uphill putt. Avoid the front bunkers left and right or a bogey may be in your future.
344 330 310 310 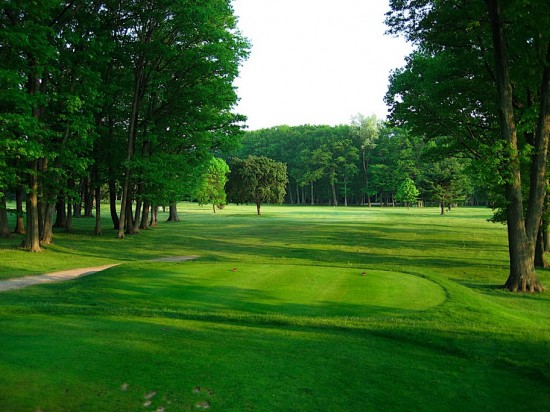
-
Hole 7 | Par 3
A straight tee shot is required to the center of this large well guarded green. Avoid going over or bogey will be waiting.
168 155 140 140 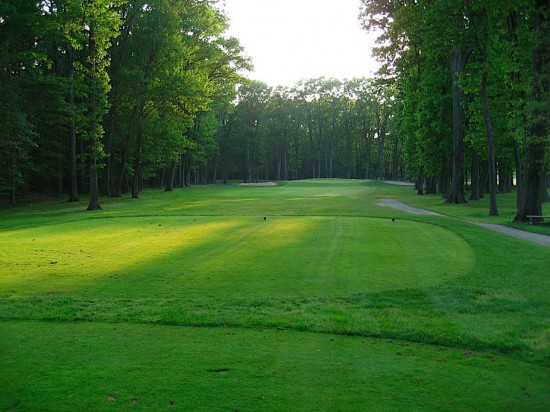
-
Hole 8 | Par 4/5
It is necessary to carefully select a target for the blind second shot. Line up by using one of the three large beech trees behind the green.
422 408 393 307 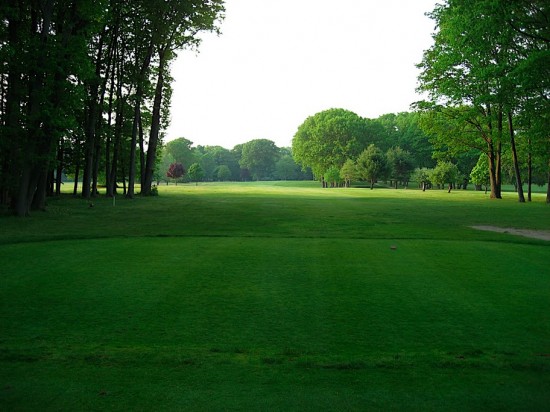
-
Hole 9 | Par 5
A good tee ball will put you in a position to go for the green in two. Place a drive on the left hand side of the fairway to avoid the big tree on the right. This green has a subtle ridge that divides from front to back. Place your tee shot on the correct side to have your best birdie opportunity.
531 513 449 365 
-
Hole 10 | Par 4
Use a driver or a long iron from the tee. Keeping the ball in the fairway is a must and avoiding the mounds on either side will make your second shot to the two tiered green easy. The front left bunker will come into play if you don't choose enough club for your approach shot. Keep the ball on the same level as the pin to avoid a three putt.
294 294 277 277 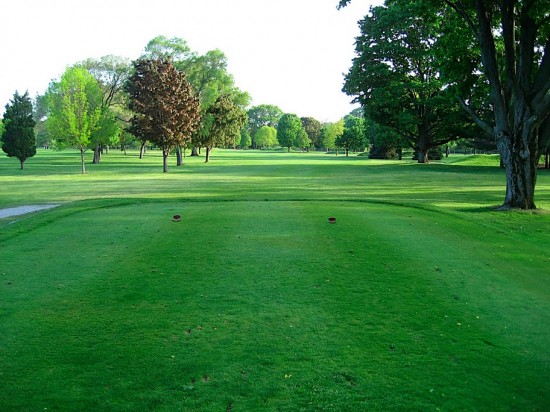
-
Hole 11 | Par 3
A straightforward par 3. Carry the ball to the middle of the green makes for a good birdie attempt. Avoid too much backspin and landing short of the green.
137 127 112 112 
-
Hole 12 | Par 4
A risk and reward hole. Long hitters can attempt to reach the green with a driver, but the popular choice is to lay up with a 180 yard tee shot favoring the left center of the fairway. This leaves you with a short sand wedge to a sloping green. Play your shot to the right of the pin as the green tilts right to left.
275 263 252 252 
-
Hole 13 | Par 4
A straight away par 4 with out-of-bounds on the left. Keep your tee shot to the right side for the best chance at a birdie. Putts tend to break toward the four way stop signs. Seeing is believing on this green.
318 306 295 295 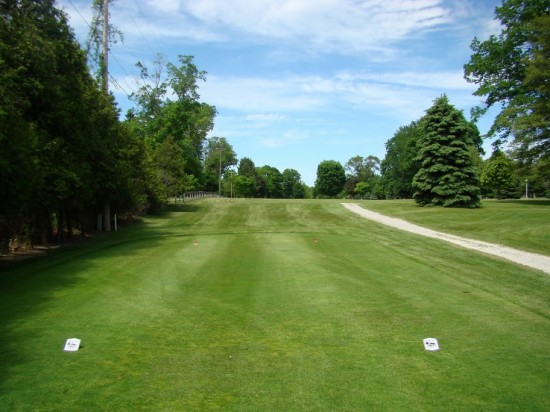
-
Hole 14 | Par 5
A short par 5 with an accurately placed tee shot down the middle right which will give you a good look at the green. Three good shots and an eagle is on the card. Laying the ball up to 125 out is a good approach and will still produce a birdie opportunity.
422 422 412 338 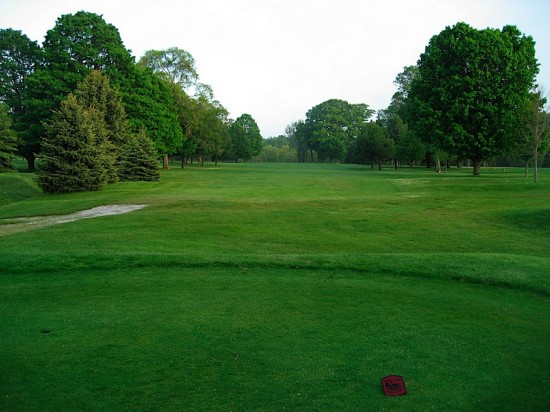
-
Hole 15 | Par 3
A good par 3 with trouble short of the green. Hit your tee shot to the middle of the green to avoid the ball spinning off the front edge. Check the wind for the correct club selection.
124 118 106 106 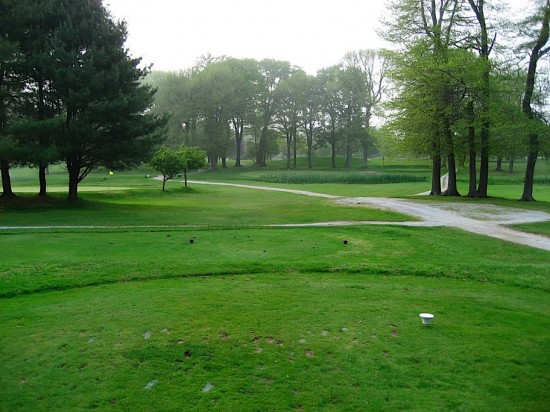
-
Hole 16 | Par 4
A dogleg to the right. A tee shot of 180 yards is the best play here. Positioning your ball in the left center of the fairway will avoid having to hit over the trees on the right. The green is heavily bunkered, so shoot for the center of the green. Because of its southern exposure, the green is faster and harder than most.
298 287 270 270 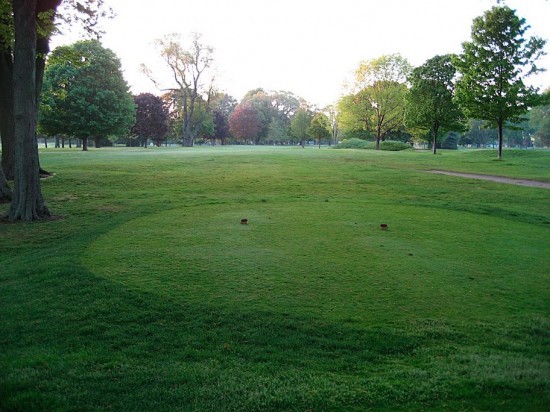
-
Hole 17 | Par 4
A true risk reward hole. A short par 4 with two huge bunkers guarding the front of the green. Going for the green will require a straight and accurate tee shot, that can land soft to hold the green. If you pull it off, you’ll have a sporting chance for an eagle on this very short par four.
242 227 217 217 
-
Hole 18 | Par 4
A great finish to a fun and challenging course. A tee shot on the right center of the fairway will avoid the out of bounds on the left. Leave your second shot into the green with an uphill putt and on the correct side of the ridge running through the green. Two putts are good here.
368 358 348 298